Converting a backyard shed into a livable tiny home is no longer a fringe idea, it’s a legitimate housing solution that’s gaining traction nationwide. The appeal is straightforward: these structures offer affordable square footage without the hassle of a traditional build. Whether it’s a home office, guest quarters, rental unit, or downsized living space for aging parents, a shed conversion delivers functional space at a fraction of standard construction costs. But transforming a storage building into a code-compliant dwelling requires more than paint and flooring. This guide walks through the structural, legal, and design work needed to pull it off right.
Table of Contents
ToggleKey Takeaways
- Converting a shed into a tiny home costs $50–$120 per square foot compared to $150–$250 for new construction, making it an affordable alternative to traditional building.
- A shed turned into a tiny home can be move-in ready in 8–16 weeks, significantly faster than ground-up construction which takes 6–12 months.
- Code compliance requires bringing the shed up to IRC standards, including frost-protected foundations, 7-foot ceiling height, egress windows, and proper electrical and plumbing systems.
- A complete 12×20-foot shed conversion typically costs $10,300–$28,700, or roughly $43–$120 per square foot, depending on structural upgrades and whether you hire professionals or DIY.
- Smart design choices like open floor plans, murphy beds, vertical storage, and multi-function furniture maximize the livable space in a shed conversion project.
- Check local zoning laws early—some jurisdictions classify shed-to-home conversions as accessory dwelling units (ADUs) with fewer restrictions, enabling rental income or multi-generational living.
Why Convert a Shed Into a Tiny Home?
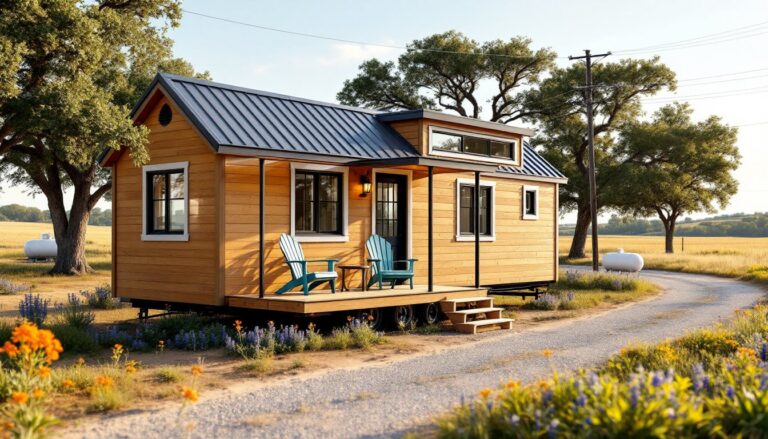
The math is simple: pre-existing structure means less foundation work, framing, and exterior sheathing. A 12×20-foot utility shed can become 240 square feet of living space, enough for a studio layout with kitchenette, bath, and sleeping area.
Cost savings are the primary driver. New construction runs $150–$250 per square foot in most U.S. markets as of 2026, while a shed conversion typically lands between $50–$120 per square foot, depending on how much of the existing structure is reusable. That’s a significant differential.
There’s also speed. A ground-up tiny home build can stretch six months to a year. Converting a shed, assuming permits clear and the foundation is sound, can be move-in ready in 8–16 weeks for a competent DIYer working weekends.
Finally, zoning flexibility. Some jurisdictions classify sheds as accessory dwelling units (ADUs), which face fewer restrictions than standalone homes. This opens doors for rental income, multi-generational living, or simply more usable square footage on existing property.
Planning Your Shed-to-Home Conversion Project
Before swinging a hammer, map out the project scope. Start by assessing the existing shed’s condition. Check for:
- Structural integrity: Sagging roof trusses, rot in floor joists, or wall studs that aren’t true plumb.
- Foundation type: Skids, concrete piers, or slab. Occupied dwellings typically require frost-protected footings per IRC guidelines.
- Roof pitch and headroom: A 4/12 pitch or steeper works better for insulation and interior height. Anything below 3/12 may limit ceiling options.
Measure the shed’s actual dimensions. Nominal sizes often differ from usable interior space once you add insulation and wall finishes. A 10×16-foot shed may only yield 144 square feet of interior space after framing upgrades.
Permits, Zoning Laws, and Building Codes
This is non-negotiable. Most municipalities require permits for any structure used as a dwelling, even part-time. Expect to submit:
- Site plan: Showing setbacks, utilities, and property lines.
- Building plans: Framing, electrical, plumbing, and HVAC layouts.
- Occupancy type: ADU, guest house, or permanent residence.
Zoning laws vary widely. Some areas allow ADUs by-right: others cap square footage, require owner occupancy, or ban rentals. Call the local building department early, before buying materials.
Building codes (typically IRC for residential) dictate:
- Minimum ceiling height: 7 feet for at least 50% of floor area.
- Egress windows: At least one operable window with 5.7 square feet of clear opening in sleeping areas.
- Electrical: NEC-compliant wiring, GFCI outlets in wet areas, AFCI protection on bedroom circuits.
- Insulation: Varies by climate zone: R-13 to R-21 in walls, R-30 to R-49 in ceilings for most of the U.S.
If the shed wasn’t permitted as a dwelling originally, you may need to bring it up to current code. That can mean foundation work, hurricane ties, or fire-rated drywall.
Essential Structural Upgrades and Foundation Work
Most prefab sheds sit on gravel pads or 4×4 skids. That’s fine for lawnmowers, not humans. Occupied structures need a foundation that resists frost heave, moisture intrusion, and settling.
Options include:
- Concrete pier and beam: Dig below frost line (varies by region: 42 inches in northern states, 12 inches in the South), pour footings, and set treated 6×6 posts. Frame a 2×8 or 2×10 floor system with joists 16 inches on center.
- Slab-on-grade: Requires site excavation, gravel base, vapor barrier, and a 4-inch reinforced concrete slab. Best for flat sites and climates without deep frost.
- Existing slab upgrade: If the shed already has a slab, verify it’s at least 3.5 inches thick with rebar or wire mesh. Add a rigid foam insulation layer and subfloor if needed.
Wall framing in utility sheds is often 2×3 studs on 24-inch centers, not enough for insulation or load. Reinforce by sistering 2×4s alongside existing studs or reframing entirely with 2×4 or 2×6 studs on 16-inch centers. Use pressure-treated lumber for bottom plates in contact with the slab.
Roof upgrades: If the existing roof uses 2×4 rafters, they may not support insulation and finish materials plus snow load. Consult local span tables. You may need to sister in additional rafters or switch to engineered trusses. Install a vapor barrier and continuous ridge vent to manage moisture.
Windows and doors: Swap shed-grade doors for an insulated exterior-rated entry door with weatherstripping. Add at least one egress window (minimum 5.7 square feet opening, 24-inch height, 20-inch width). Tempered or safety glass is required for glazing near doors and in bathrooms.
Installing Insulation, Electrical, and Plumbing Systems
Insulation: Fiberglass batts are the budget choice, R-13 in 2×4 walls, R-19 or R-21 in 2×6 walls, and R-30 or higher in the ceiling. For tighter spaces, consider rigid foam boards or spray foam, which offer higher R-value per inch. Seal all penetrations with caulk or expanding foam to prevent air leaks.
Always install a vapor barrier on the warm side of the insulation (interior in cold climates, exterior in hot-humid zones). Use 6-mil polyethylene or foil-faced insulation.
Electrical: Hire a licensed electrician unless you’re confident pulling permits and passing inspection yourself. Typical tiny home electrical includes:
- 100-amp or 60-amp service panel (depending on load)
- 15-amp circuits for lighting and general outlets
- 20-amp circuits for kitchen, bathroom, and HVAC
- GFCI protection within 6 feet of water sources
- AFCI breakers for bedrooms per NEC 2020+
Run 12/2 or 14/2 Romex through studs, drill holes at least 1.25 inches from the stud edge, and use nail plates where wiring passes closer. Plan outlet spacing: one every 12 feet along walls, plus dedicated circuits for microwaves and mini-splits.
Plumbing: If the shed is within 50 feet of the main house sewer and water lines, tapping in is feasible for most DIYers. Beyond that, consider a composting toilet and gray-water system or hire a plumber.
For full plumbing:
- Run 3/4-inch PEX supply lines from the main house, buried below frost line.
- Install a 3-inch ABS or PVC drain line with proper slope (1/4 inch per foot minimum).
- Add a vent stack through the roof for each fixture group.
- Use a tankless water heater or small point-of-use electric heater to save space.
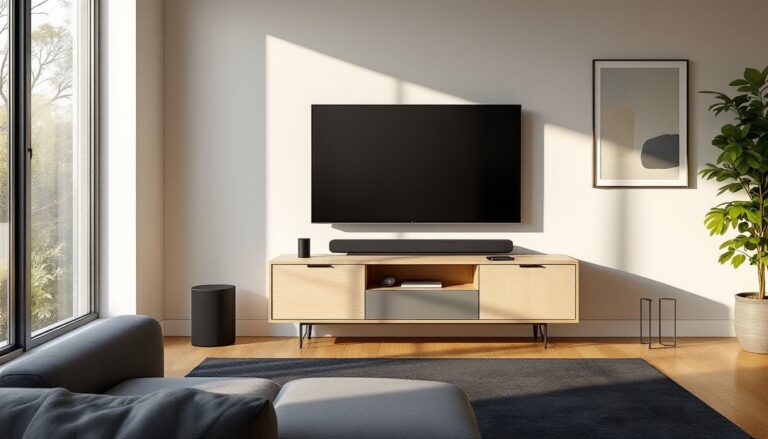
HVAC: Mini-split heat pumps are the go-to for tiny spaces. A 9,000 or 12,000 BTU unit handles heating and cooling in most climates. Small space living ideas often highlight ductless systems as efficient, space-saving options. Alternatively, use a wall-mounted electric heater and window AC, though efficiency suffers.
Interior Design Ideas for Maximizing Small Spaces
Layout: Open floor plans work best. Position the kitchen and bath along one wall to consolidate plumbing. Use a murphy bed, loft sleeping area, or convertible sofa to free daytime floor space.
Vertical storage: Install floor-to-ceiling shelving, wall-mounted cabinets, and pegboards. Every vertical inch counts. Overhead storage above doorways and windows reclaims dead space.
Multi-function furniture: A dining table that folds into the wall, a bench with interior storage, or a desk that doubles as a kitchen prep counter. Brands like IKEA and Resource Furniture specialize in these solutions, though DIY home projects can yield custom builds at lower cost.
Light and color: Use white or light gray paint on walls and ceilings to reflect natural light. Add mirrors opposite windows. Install recessed LED lighting or track lights to avoid pendant fixtures that clutter sightlines.
Material choices: Luxury vinyl plank (LVP) flooring is durable, waterproof, and DIY-friendly. Shiplap or tongue-and-groove paneling on one accent wall adds texture without visual weight. For countertops, butcher block or laminate keeps costs reasonable.
Windows: Maximize natural light with larger windows or a skylight. Use cellular shades or roller blinds for privacy without eating into square footage the way curtains do.
Budget Breakdown: What Does a Shed Conversion Actually Cost?
Costs vary by region, existing structure condition, and finish level. Here’s a realistic breakdown for a 12×20-foot shed conversion in 2026:
- Foundation upgrades: $1,500–$4,000 (pier and beam or slab prep)
- Framing and structural: $800–$2,500 (sistered studs, roof reinforcement)
- Insulation and vapor barrier: $600–$1,200
- Electrical (materials + permit): $1,200–$3,000 (DIY), $3,500–$6,000 (licensed electrician)
- Plumbing (basic kitchen/bath): $1,000–$2,500 (DIY with PEX), $4,000–$8,000 (pro install)
- Windows and doors: $800–$2,000
- Interior finishes (drywall, flooring, paint): $1,500–$3,500
- HVAC (mini-split): $1,200–$2,500 (DIY install), $2,500–$4,500 (pro)
- Fixtures and appliances (sink, toilet, shower, mini-fridge, cooktop): $1,200–$3,000
- Permits and inspections: $500–$1,500
Total estimated range: $10,300–$28,700 for a basic but code-compliant conversion. That’s roughly $43–$120 per square foot for 240 square feet.
Factor in sweat equity. A DIYer doing electrical, plumbing, and finish work can land on the lower end. Hiring all trades pushes toward the upper range or beyond.
Material costs fluctuate. Lumber spiked in 2021–2022 and has stabilized but remains above pre-pandemic levels. Lock in quotes for big-ticket items like windows, doors, and HVAC before committing to a timeline.
One overlooked cost: utility hookups. If the shed is far from the main house, trenching for electric, water, and sewer can add $2,000–$5,000. Budget for it upfront. Builders of custom tiny homes often price projects starting around $58K, which includes off-grid systems, worth considering if utility runs are prohibitive.